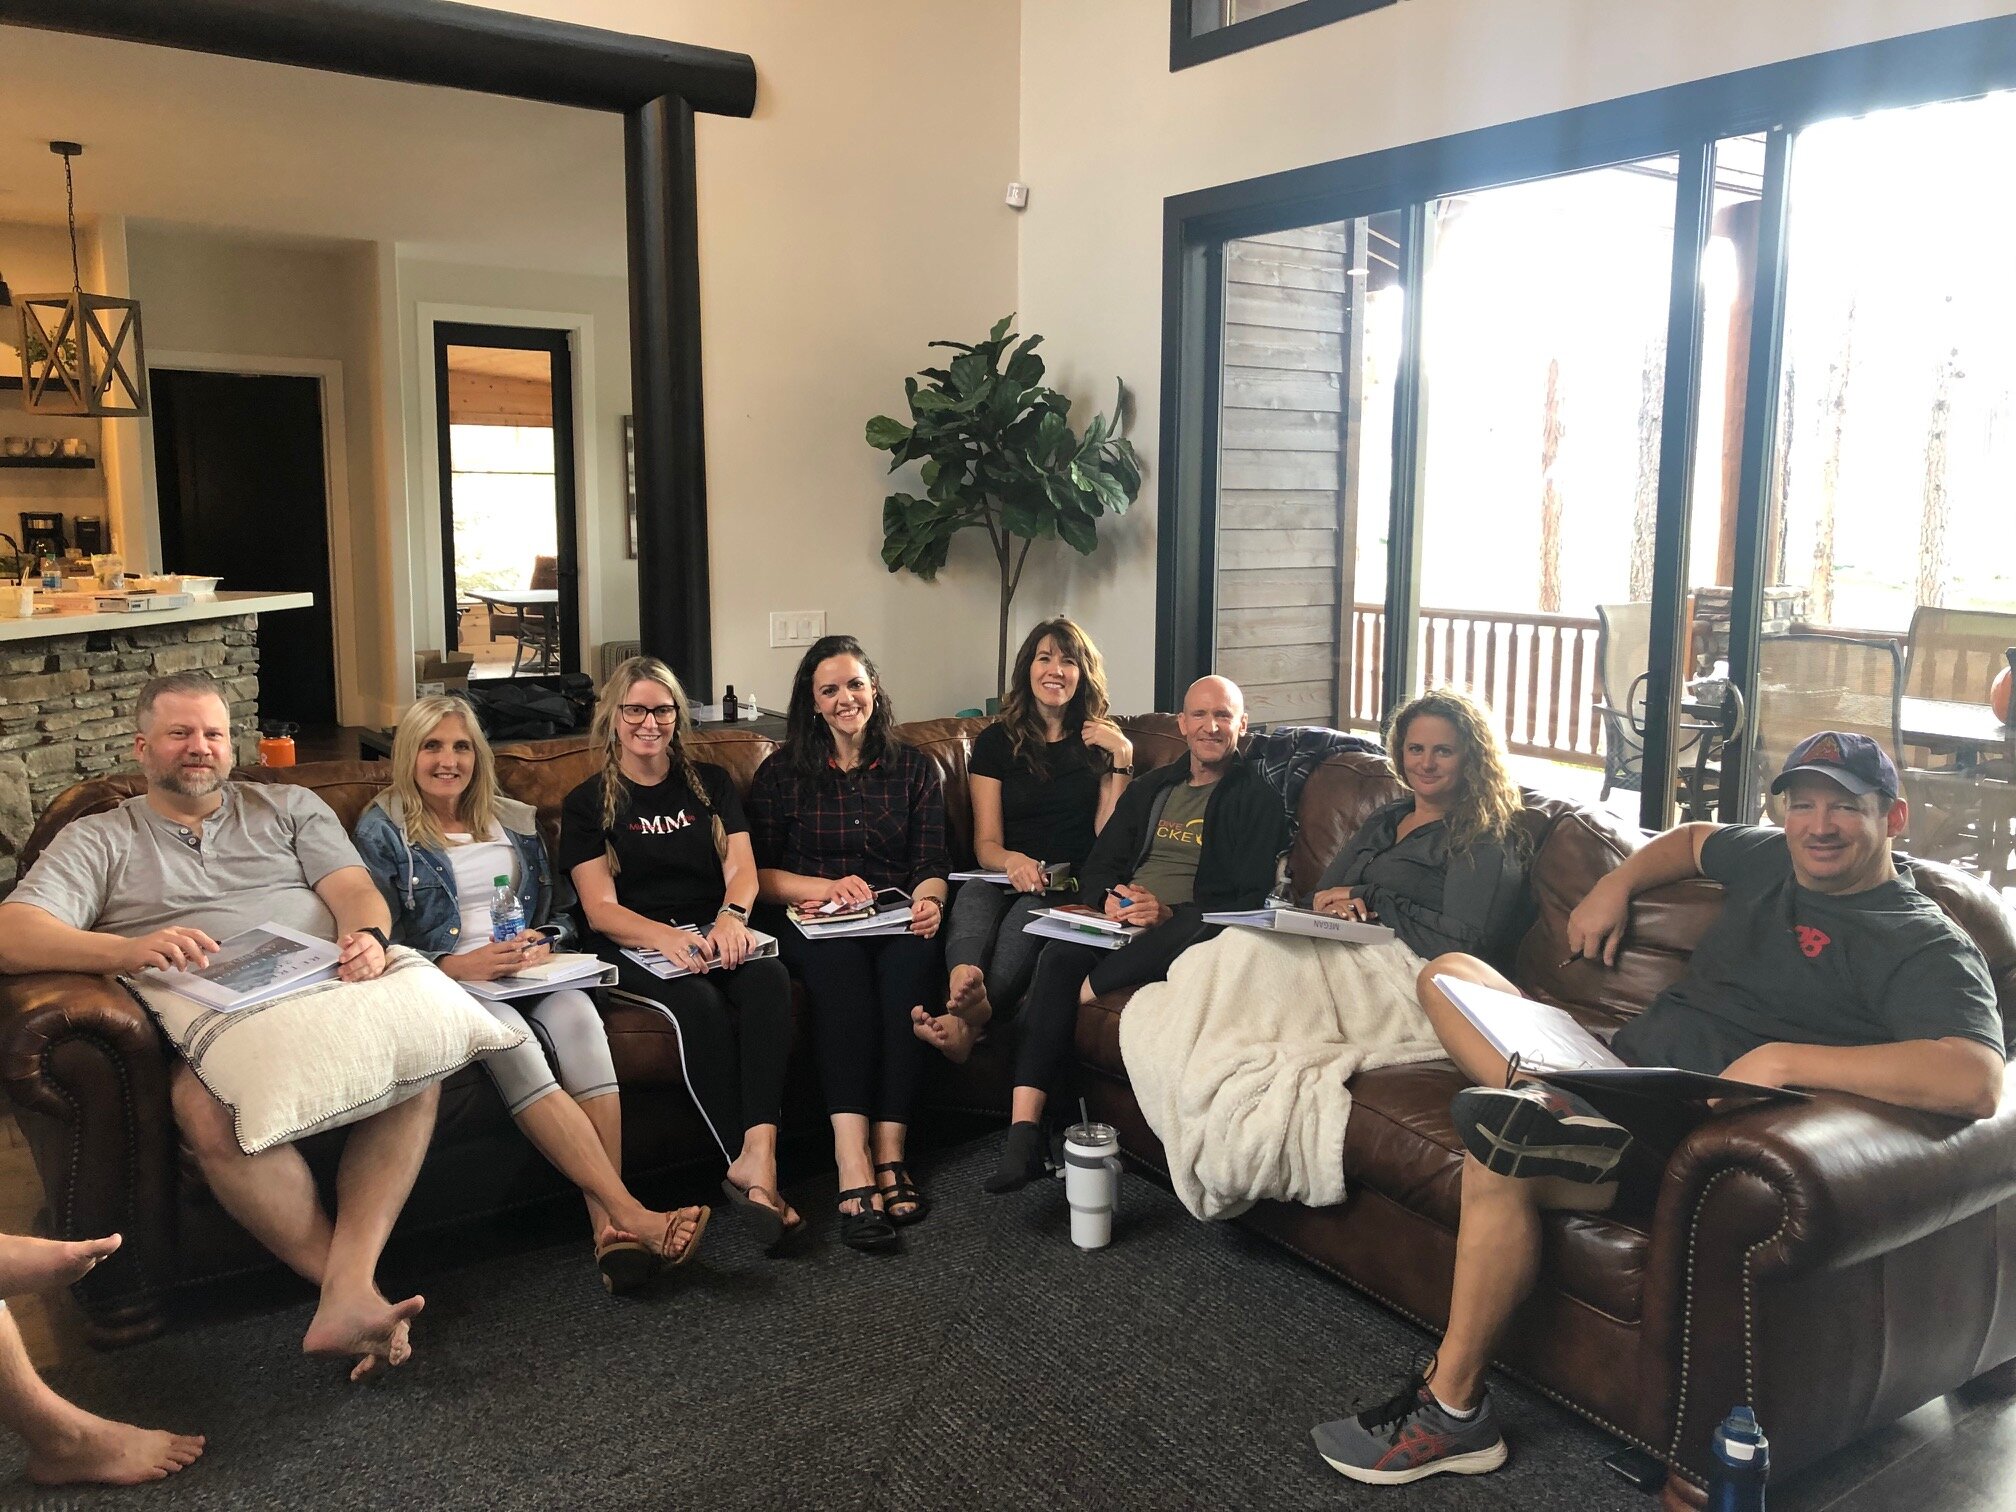
Retreat Gallery
Photos courtesy of Megan Baudino-Klug


Photos courtesy of Megan Baudino-Klug